(→Timing) Tag: Visual edit |
(→Timing) Tag: Visual edit |
||
| Line 18: | Line 18: | ||
! width="60%" | From Last OA |
! width="60%" | From Last OA |
||
|- |
|- |
||
| − | | |
+ | |1:35 |
|4:30:00 |
|4:30:00 |
||
| ⚫ | |||
| + | |3:05 |
||
| ⚫ | |||
|- |
|- |
||
|7:35 |
|7:35 |
||
|4:30:00 |
|4:30:00 |
||
|- |
|- |
||
| − | | |
+ | |12:05 |
| ⚫ | |||
| ⚫ | |||
| − | |13:35 |
||
|4:30:00 |
|4:30:00 |
||
|- |
|- |
||
| − | | |
+ | |16:35 |
|4:30:00 |
|4:30:00 |
||
|- |
|- |
||
| − | | |
+ | |21:05 |
|4:30:00 |
|4:30:00 |
||
|} |
|} |
||
Revision as of 23:30, 16 September 2021
An Outpost Attack (OA) is a scheduled attack to an outpost performed by the existing bestiary according to the outpost's location in the map.
Outpost Attack in 3D Version
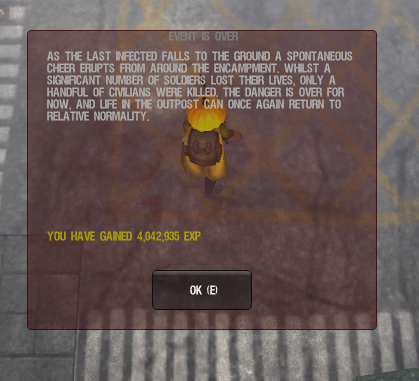
There is now an outpost attack for the 3D version of Dead Frontier. A flashing "The Outpost is under attack!" message appears at the top of the outpost main screen and a siren is heard for the duration of the event on the outpost screen and anywhere within the block of the outpost.
You can protect the entrance and the guards will help you combat the zombies, but they will also take with them some of the precious EXP you need. That is why if you want more EXP, stick away from the guards. At the end of the attack, a notification on your screen informing you the attack is over and experience bonus you gained for participating is displayed. The more zombies you killed as well as the more active you were in the attack, are both factored in among other things to get your bonus experience.
One clue to the start of an Outpost attack is a sudden increase in aggro, generally about a minute before the attack starts. Another is the alarm bells ringing. It should be noted that in the Inner City, the Outpost Attack siren is apparently programmed to play directly over the in-game music. In other words, if you choose to have the game's music turned off in your Settings, you will NOT be able to hear the Outpost siren in the Inner City . In that case, you will have to rely on watching the aggro levels or look for a message inside the outpost that states the message " Outpost Attack" in order to know when an Outpost Attack has begun, is in progress, and when it has ended (of course, you'll know it's ended when the window showing your experience bonus opens).
Timing
As of this moment:
- All Outposts are attacked at the same time.
- Outpost Attacks always last for 30 minutes.
- Outpost Attacks follow a precise schedule based on server time (whose clock can be referenced in the forum, or on the Discord server's Outpost Attack channel):
| Server Time | From Last OA |
|---|---|
| 1:35 | 4:30:00 |
| 3:05 | 1:30:00 |
| 7:35 | 4:30:00 |
| 12:05 | 4:30:00 |
| 16:35 | 4:30:00 |
| 21:05 | 4:30:00 |
Outpost Attack Bonus
At the end of each Outpost Attack, an additional experience bonus will be awarded.
- Each zombie killed adds a random integer from 2 to 50 to the OA bonus. This is irrespective of the quality of the zombies involved, meaning killing 5 Black Longarms will yield the same amount of bonus as killing 5 Grey zombies.
- The numbers will then be multiplied by the GM bonus (x2) before being displayed to the player. That number is then further multiplied by proficiency bonus and any available EXP boost, and then finally awarded to the player.
- As a result, it is possible to get awarded far more EXP than the displayed number suggests.
- The maximum possible displayed bonus for an Outpost Attack is 2,925,000.
Personal Outpost Attack
If you have made a Personal Outpost in any zone, and have not left it for a maximum of 2 days, then it will be swarmed by zombies in a Personal Outpost version of an Outpost Attack.
(Personal Outpost Attacks can definitely occur before 2 days time has passed.)
You will know there is a Personal Outpost Attack if you are in Outpost mode because you will be forced out of Outpost Mode into your building, doors unbarricaded, with zombies swarming in. This can happen at any time, whether you're on the market, on the forums, logged off, etc. A notification appears above your inner city screen stating, "Your Outpost is under attack!". (This notification stays there until you re-barricade elsewhere, or log out & back in again.)
Personal Outpost Attack takes the form of a standard natural Aggro Spike, and will require killing a certain amount of zombies (up to a maximum of 150 in the Black/White zone) to clear. No bonuses are awarded when a Personal Outpost Attack is cleared.
Tactics ( Single-Player Outpost Attack )
- In singleplayer, every zombie will be targeting you. With about 25 zombies on screen at times, you want to be very careful.
- It is ill-advised to hold out in a close-quarters area, as you can easily get overrun without any place to retreat to.
- Be prepared with a lot of ammo. You will probably be firing most of the time, which just eats through your ammo.
- For weaker players who are not too confident about staying alive, stick with the Guards. They can weaken zombies for you at the price of some EXP. Although you don't get nearly as much EXP, it's still better than nothing.
- If you plan it correctly, you can get the Guards to damage zombies, while not killing them. This will weaken them while leaving you with most of the EXP, assuming you can get the final blow.
- Be vigilant if you are hanging out near the Outpost Entrance. Sure, the guards will be able to drop most of the zombies, but occasionally some of the stronger zombies, (Spiders, tendrils, bloats, brutes, reapers, bones) will make it through.
- Chainsaws can be used during Outpost Attacks, however it is not generally recommended as there are multiple zombies striking out at once. While chainsaws are not great at crowd control, if you have enough skill with them, you can get by. As recommended with Melee, it is suggested that you use buildings, walls, etc to your advantage.
- You can use Melee to conserve ammo, however it is not recommended as the amount of zombies on-screen will be maxed out. If you want to attempt it, try to use buildings/walls/obstacles to prevent most zombies from reaching you, while dealing with the zombies that can.
- If you're an advanced/skilled player you may find out that using a high tier grenade launcher during an outpost attack while circling the crowd will grant you more exp than using other weapons. This is because explosives is the most common grinding weapon other than Machine Guns and can conserve more ammo whilst gaining around the same exp.
Tactics ( Multiplayer Outpost Attack )
- Be very cautious. As Multiplayer sync is currently (to be quite honest) horrible, Sync Issues can and will happen everywhere.
- Multiplayer can be a viable option for lower leveled survivors who feel they aren't ready for Singleplayer Outpost Attacks.
Tactics ( Single-Player Personal Outpost Attack )
- Be careful! There are lots of zombies spawning in, and you are in an enclosed space. This can be a recipe for disaster for some players.
- Use walls to your advantage, regardless of your weaponry.
- Don't get cocky and try to take everything on simply because you have a strong weapon.
- There are no guards to help, plan your attacks wisely.
- If you are low on health or ammo, leave. Or at least try. If you stay, you will die.
- Crowd Control weapons are highly recommended. You aren't going to get much done with a simple looting weapon.
Personal Outpost Attacks can devastate you if you are not prepared. It is highly recommended to
- Know where all the building's entrances are before a Personal Outpost Attack occurs (Know where zombies will spawn from)
- Be Healthy and have your armor repaired
- Have ammo & supplies ready, you don't want to be caught without Planks or Nails if you're forced to re-locate
Outpost Attack in 2D Version (Removed)
| Outpost Attack in 2D Version | ||||
|---|---|---|---|---|
|
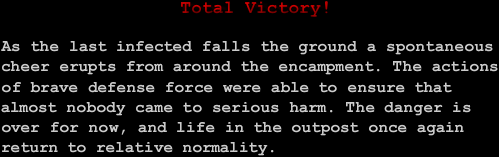
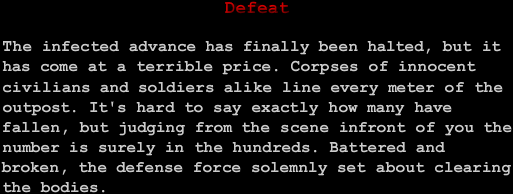
Whilst Nastya's Holdout is very well defended and fortified, there comes a time when a massive horde of zombies will assault its seemingly impregnable territory, forcing all present Survivors to defend the Outpost or break along with the front lines. They usually begin randomly at any 15 minute period between 9:00 P.M. - 1:00 A.M. UTC / GMT (5:00 P.M. - 9:00 P.M. Server Time) and last about 1 1/2 hours (90 minutes), but sometimes even as short as 30 minutes, depending on the amount of attacking zombies. A good website for finding when it starts for your timezone is, http://www.timezoneconverter.com. Note: If you logout and login with a different account, all the bonus experience will be lost. Also, careful observers believe that the OA starting time is based on the average of the server load peak time during the last 3 - 7 days. The Junk Yard Approach 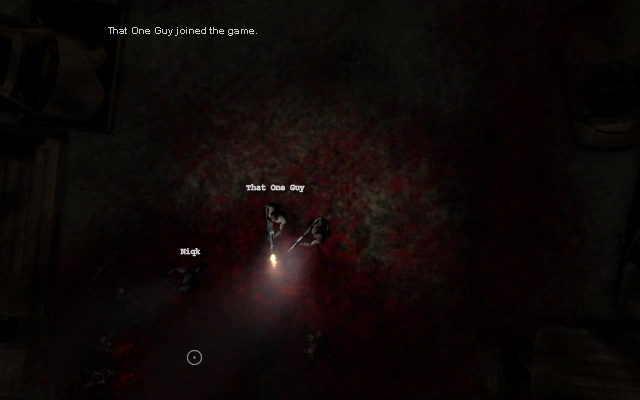 Located along the Southern Edge of Nastya’s Outpost is the Junkyard-a treasure trove of spare parts for outpost engineers and mechanics. It’s also a security nightmare-it’s way too large to properly barricade, and the infected who pass by can easily approach our undefended flank-all that separates them from us is a chain link fence and whatever few guards we could spare from the main gate. If the infected break through, our guys in the rooftop and the front gate will find themselves surrounded on all sides…and Nastya’s will have a bloody massacre on its hands. That’s where you come in. A few good survivors could enter the maze of twisted wrecks and bottleneck the infected to cut down on the numbers that do make it through. Make no mistake-this is grunt work. You’ll be well within the range of infected claws, so watch yourself. We trust you’ll fight with bravery, and if need be, sell your life dearly. The junkyard approach is for close-quarter weapons like chainsaws and grenade launchers which get stuck into the carnage. This is the place where melee and chainsaw users shine, since they are not much use at the Main Gate or defending the Rooftops. A high Endurance, Critical Strike, and Agility helps out quite a bit, considering that the zombies will not only go after the exit, but after you and your partners as well. Recommended weapons include Shotguns, Machine Guns, Melee Weapons, Chainsaws, and Grenade Launchers. Pistols and rifles also work, but are not the best weapon. (This is biased. Rifles are very good for some people. It is very risky to be near a zed a lot, and inefficiency is rampant in how you fight and prevent zeds from getting to the outpost.) Zombies that players may find here are tough, based on the player's level. Those corpses cannot be looted, if you didn't already know. Defend the Main Gate 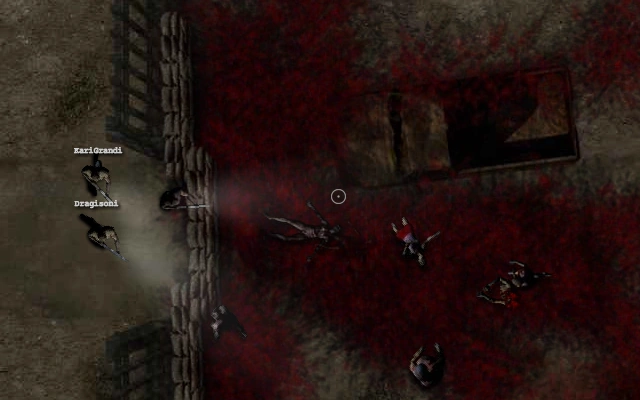 The Main Gate is where all trigger happy survivors go to fight. Shotguns, Machine Guns and the few guys with the Grenade Launchers, sometimes even Pistols and some of our Marksmen can be found here. Melee Weapons are not as recommended yet still useful if one gets real close (using a pen knife isn't going to get you anywhere, FYI), and trying to use a non-ranged weapon at the main gate is considered foolish at best and leeching at worst by experienced defenders. Luckily for the defenders here, they will not take any damage if they maintain a safe distance from the gate while the barricade stands proud and tall, since sometimes it is possible for zombies, particularly longarm zombies, to hit players who stand too close behind the gate. But beware and run if you do not manage to hold it; when the barricade falls, zombies rush inside and will go for the players. Running out of Ammo is the major concern here, as is reloading since you can rarely afford to even spend a second not shooting at the incoming horde. Making sure that you have a high ammunition capacity here is a tip that some players forget. If you run out of ammunition too quickly, you are likely to waste time that you could have spent blowing a fat zombie's brains out. As you can see very well, this area can get really bloody, which could possibly make it hard to spot red zombies that are closing in, especially if the player's screen contrast/brightness settings aren't high. Intercept from the Rooftops 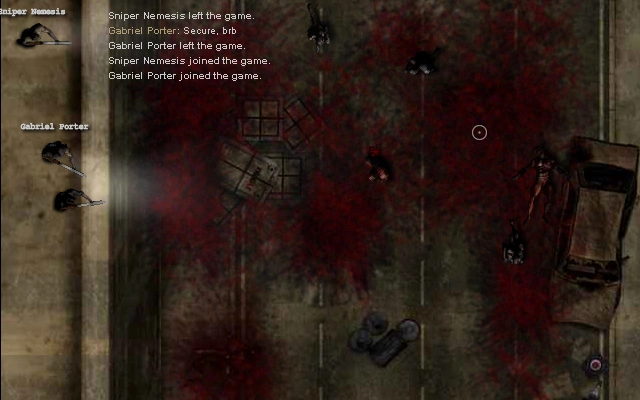 Defending the Outpost's Rooftops is easy for some, but impossible for others, depending on their weapons and skill. To be of any use at all, you need a high accuracy skill, an accurate gun and a good bit of confidence that you'll manage to hold them off. Rifles and Pistols are ideal for thinning out the numbers of the undead horde with well-placed shots, provided you have the necessary proficiency in Accuracy; other weapons like Grenade Launchers or Machine-Guns will be better than nothing, but are still a very poor choice for such a defence. The running meatbags down there can't reach you at all, but due to the large gap of space between you and them, you'll need to be very accurate to hit anything at all. Given how far away you are from the zombies, melee is not an option; the best choice here is a high powered rifle or revolver. If you don't have a gun similar to that, then this might not be the right defence for you. Your goal here is not to snipe down the whole horde that attacks us, but rather to shoot holes into the flood of infected which is rushing to our buddies at the Main Gate. Every zombie that gets past here, can assault our barricade at the gate, so better do what you can to prevent it from getting overrun. You'll need to stop them from getting past for 6 minutes, till the next set of our boys arrives, but if 10 or more get through then those guys at the gate are in real trouble. So grab your rifle, grenade launcher or whatever you have and get in position for some serious speed sniping. The Rooftops make up our north eastern outpost defense line and are easily the toughest area to defend, if you're not ready for it. You'll need very high accuracy and a strong rifle or pistol to even make a difference. Make sure you've got high reload stats, as you don't have a second to waste as those zombies run past. Melee is completely useless, as you are above the zombies on the street. Because of that you can't get hurt, but ammo is still a problem here, as without working guns, you're not being of any help to fellow survivors on the rooftops who are trying to keep zombies at bay. A gun with a high ammo capacity and average or above reload speed is useful here. Ammunition will deplete very quickly if you have a low powered gun, so make sure it's power is high enough to dish out some serious damage on the stronger enemies that may resist the damage sustained at the main gate. The Outpost Guards  The Outpost Guards are a loyal force of soldiers and mercenaries dedicated to guarding Nastya's Holdout and its citizens from all harm. When the Outpost Defense fails and the zombies break through the defensive lines, they bear the brunt of the casualties. They vary greatly in strength and weaponry, but the stronger ones usually volunteer to work with the more experienced survivors. Most use assault rifles or sniper rifles while the less experienced of our outpost guard use mostly pistols. The standard issue weapon for the best outpost guard is the AK 47 (JY, MG) or the M82A2 (RT). They will assist you whenever you choose to defend an area in Single Player, but once an Outpost Guard is killed, you will be defending the area by yourself and won't get another one until you return later and decide to help for a second time. So it's best to help them out of death traps so you'll at least have some covering-power while you're there. NOTE: If you are over lv.45 the Outpost Guard will use a Ak-47 at MG or JY. If you are over lv.41 at RT the Outpost Guard will use a M82A2. Results When the Outpost Attack ends successfully or at least not in a total loss, everyone who participated and helped enough will get an extra experience bonus - in addition to the + 50% experience bonus per kill during the defense. The bonus depends on the type of result and the level of the Survivor. Currently, there are 4 different ways how an Outpost Attack can end, depending on the total status at the end of the OA timespan. The status...
The Bonus Experience Formula is Level x Bonus Value x Result = Bonus Experience
For example, a Level 50 Character will get 15,000 Experience as Outpost Attack Bonus after a Defeat, yet 30,000 for a Marginal Victory, and 45,000 for a Total Victory.
|